Ever wondered how a little device can turn into a game-changer in the skies? Welcome to the world of the Raspberry Pi Zero thermal drone, where DIY dreams take flight. It’s not just about flying a drone: it’s about soaring to new heights with thermal imaging that even your grandma would be impressed by. If you’re ready to dive deep into this tech marvel, grab a snack and read on, this guide is packed with everything you need to know to make your drone the coolest gadget on the block.
Overview of Raspberry Pi Zero and Its Applications
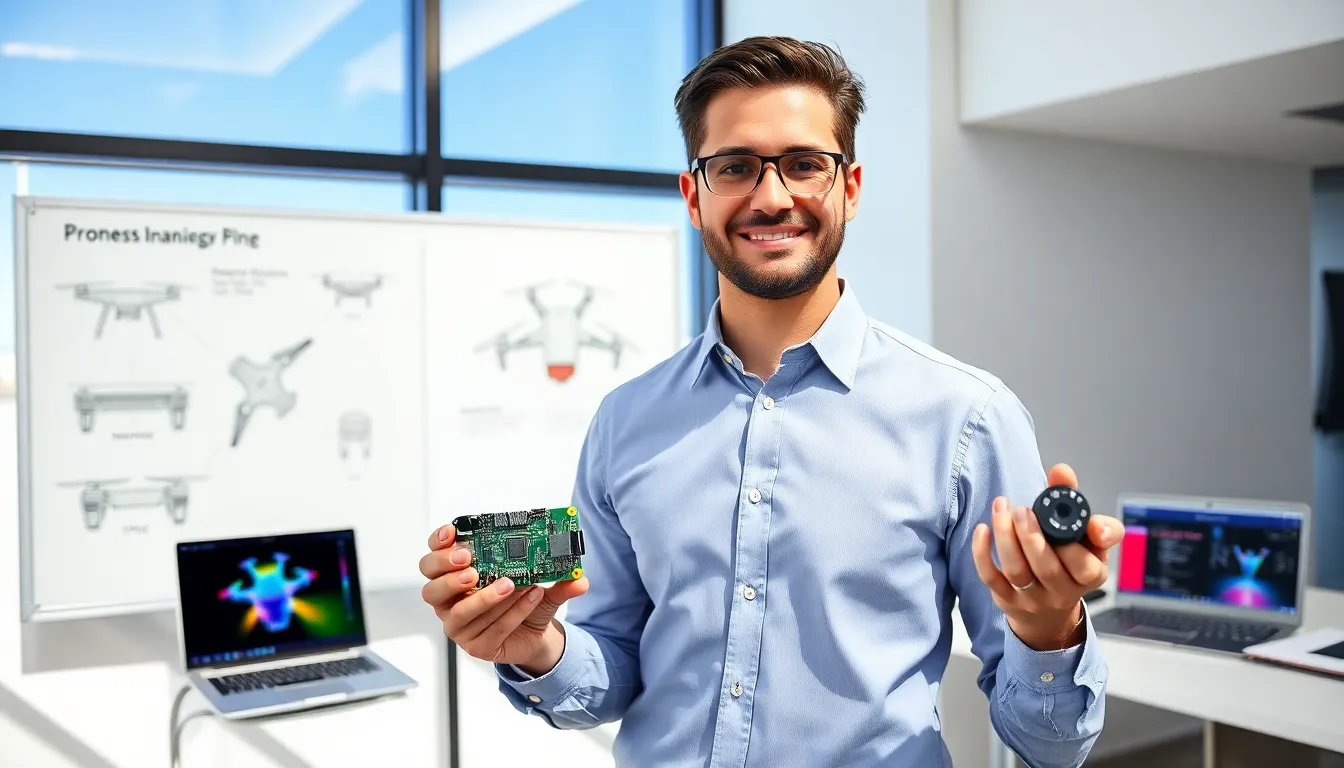
The Raspberry Pi Zero is a tiny, affordable piece of hardware that packs a punch. Often dubbed the “wonder computer,” it has become a favorite among hobbyists and innovators alike. Measuring just about the size of a stick of gum, this mini-computer opens doors to countless projects, including drones, cameras, and even home automation systems.
Originally released by the Raspberry Pi Foundation, the Zero series has seen various iterations, but they all maintain a focus on accessibility and versatility. With features like a VideoCore IV graphics processing unit, USB and HDMI ports, and GPIO pins, the Raspberry Pi Zero enables users to run various operating systems and can function in numerous applications, from robotics to Internet of Things (IoT) devices. The potential for ingenuity using Raspberry Pi Zero continues to inspire creators around the world.
Advantages of Using Raspberry Pi Zero in Drones
When it comes to drones, the Raspberry Pi Zero stands out for its incredibly low cost and high functionality. Many drone enthusiasts opt for this tiny titan for several reasons:
- Cost-Effective: Who doesn’t love a budget-friendly gadget? The Raspberry Pi Zero can be acquired for a mere $5, making it an ideal choice for tech-savvy makers on a budget.
- Lightweight: Weighing just 9 grams, it doesn’t weigh down your drone, allowing for better flight performance and increased battery life.
- Customizability: Using the Raspberry Pi’s GPIO pins, users can customize their drones to integrate with additional sensors, cameras, or even GPS modules.
- Community Support: The vast online community surrounding the Raspberry Pi offers abundant resources, tutorials, and forums, making it easier for newcomers to troubleshoot and innovate.
Understanding Thermal Imaging Technology
Thermal imaging technology detects heat emissions, offering a way to see what’s hidden from the naked eye. Unlike traditional cameras that capture visible light, thermal cameras produce images based on infrared radiation. This unique capability has applications ranging from building inspections to wildlife monitoring and even search and rescue operations.
By utilizing a thermal camera in your Raspberry Pi Zero drone, you can tune into varying heat signatures, identifying potential issues like heat leaks in buildings or even tracking animals in their natural habitat. What’s more, this technology is increasingly used in various industries, from agriculture to emergency services, highlighting its versatility and importance.
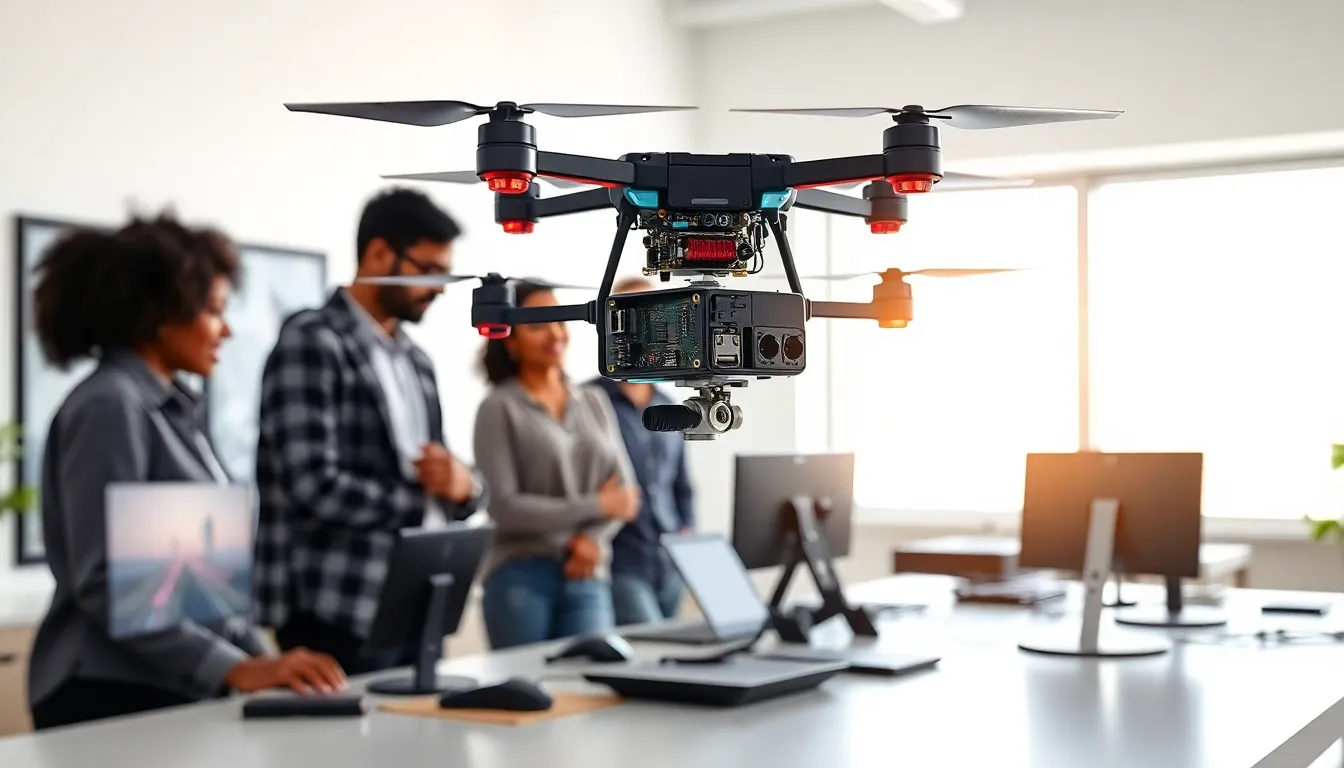
Building Your Raspberry Pi Zero Thermal Drone
Creating your very own Raspberry Pi Zero thermal drone may seem daunting, but with the right components and guidance, anyone can achieve it. Here’s a simple breakdown of what you’ll need and the steps to follow.
Key Components Required for the Build
- Raspberry Pi Zero W: The heart of your drone.
- Thermal Camera: A compatible thermal sensor such as the FLIR Lepton.
- Flight Controller: Essential for managing the drone’s flight dynamics.
- ESCs and Motors: These will drive your propellers.
- Propellers and Frame: Choose a lightweight frame to optimize your drone’s performance.
- Battery: A suitable lithium polymer battery to provide power.
Step-by-Step Assembly Process
- Start with the Frame: Assemble the frame according to the manufacturer’s instructions, ensuring it’s sturdy yet light.
- Attach the Motors: Secure the brushless motors to the frame.
- Connect the ESCs: Attach electronic speed controllers to each motor to manage speed and direction.
- Install the Raspberry Pi: Securely place the Raspberry Pi in an accessible area of the frame.
- Mount the Camera: Position the thermal camera to provide a clear view under the drone.
- Wire Everything Up: Connect the battery, motors, and camera to the Pi, ensuring proper wiring to prevent shorts.
Software Setup and Configuration
The software side might intimidate some, but fear not. Install Raspberry Pi OS and necessary libraries to interface with the camera. Libraries for I2C communication and image processing will come in handy. Don’t forget to follow specific instructions to configure the flight controller software for optimal performance. This step might involve some trial and error, but patience pays off.
Testing and Calibration
After the assembly, it’s time to test your creation. Ensure everything is properly secured and powered before the first flight. The following steps will help you achieve a successful test:
- Check Movement: Spin the motors to confirm they respond accurately to throttle.
- Test Connectivity: Ensure the thermal camera is properly transmitting data to the Raspberry Pi.
- Conduct a Bench Test: With the drone secured, test the camera functionality while on the ground.
- Calibrate the Sensors: Adjust settings for the flight controller and thermal camera to optimize performance during flight.
- First Flight: Start with low altitudes, gradually increasing height to assess stability and camera functionality.
Potential Use Cases for Thermal Drones
The applications for Raspberry Pi Zero thermal drones are nearly limitless. Here are some intriguing possibilities:
- Search and Rescue Operations: Quickly locating heat signatures from trapped individuals.
- Wildlife Monitoring: Tracking endangered species or studying animal behaviors in their natural environment without intrusion.
- Building Inspections: Locating heat loss in residential or commercial properties, which can dramatically increase energy efficiency.
- Agricultural Surveys: Evaluating crop health through thermal variations to provide insights on irrigation needs.